Creating a mascot costume can be an exciting and cost-effective project for schools and clubs. With a little creativity, some basic crafting supplies, and plenty of team spirit, you can bring your mascot to life right at home or in your classroom. Here are some ideas and steps to get started.
Gather Your Supplies
Before diving into the construction process, ensure you have all necessary materials. Common items include foam sheets, felt fabric, hot glue guns, paint, fabric markers, stuffing materials, and various embellishments such as buttons, sequins, and ribbons. Depending on your mascot design, additional items like wigs, goggles, and shoes may also be required.
Design and Sketch
Start by brainstorming your mascot concept. What kind of animal or character best represents your school or club? Once you’ve decided, sketch out your design on paper. Include details like colors, patterns, and any specific features that will make your mascot stand out.
Create a Base Structure
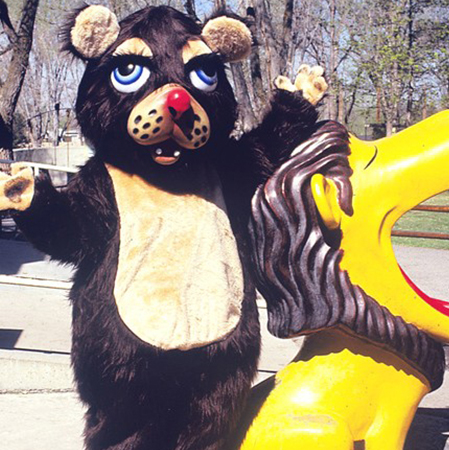
Begin by constructing the base structure using lightweight materials such as cardboard or foam sheets. For example, if your mascot is a large bear, create an oval shape for the body and head. Cut out these shapes accurately so they can be assembled into a cohesive form.
Adding Details
With your base structure ready, start adding finer details. Use felt to cut out ears, eyes, noses, and other facial features. Hot glue these pieces onto the main structure. For more intricate designs, consider using fabric markers to draw additional details such as fur textures or stripes.
Painting and Finishing Touches
Once all parts are securely attached, it’s time to paint your mascot. Acrylic paints work well for vibrant colors and durability. Allow each layer to dry thoroughly before applying the next. To add a professional touch, use fabric paints for smaller details. After painting, finish off with any additional embellishments like sequins, buttons, or even a shiny nose made from a small mirror.
Comfort and Wearability
Ensure your mascot costume is comfortable to wear. Add padding where needed, especially if children will be wearing the costume for extended periods. Adjustable straps and elastic bands can help achieve the perfect fit. Make sure to leave adequate ventilation spaces to keep the wearer cool.
Final Assembly
Assemble all parts of the costume, making sure everything is secure but easily removable for maintenance and cleaning. Conduct a fitting session to ensure the mascot can be put on and taken off without hassle. If possible, involve members of your team in the fitting process to gather feedback and make necessary adjustments.
Testing and Debut
Finally, test out your mascot costume at a practice event. Have a member wear the costume and see how it performs under real conditions. Check for any areas that might need reinforcement or adjustment. Once everything is perfected, your mascot is ready to make its grand debut!
Creating a DIY mascot costume can be a rewarding experience that fosters teamwork and creativity while producing a unique representation for your school or club. So grab those crafting supplies and let your imagination run wild!
