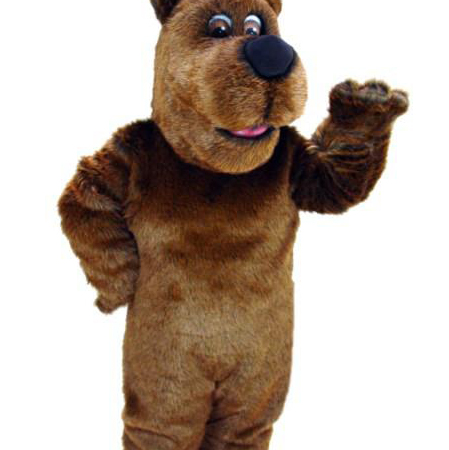
How to Breathe Life Into a Mascot Costume with Arduino and Raspberry Pi
Mascot costumes bring excitement and joy to events, but what if you could make them even more engaging? By integrating Arduino and Raspberry Pi, you can add dynamic features that transform a static mascot into an interactive experience. Here’s how you can infuse your mascot costumes with life.
Choosing the Right Components
To begin, gather essential components including an Arduino board for managing inputs and outputs, a Raspberry Pi for processing more complex tasks, servo motors for movement, LEDs or RGB lights for visual effects, and sensors like motion detectors or microphones. These elements will work together to create a responsive and animated mascot.
Setting Up the Arduino
The Arduino will control basic functionalities such as lighting and simple movements using servo motors. Start by connecting your servo motors to the Arduino. Write a script that allows the servo motors to move specific joints of the mascot costume, simulating actions like nodding or waving. Integrate LEDs or RGB lights, which can be programmed to change color or blink based on different triggers like claps or cheers.
Incorporating the Raspberry Pi
For more sophisticated interactions, the Raspberry Pi comes into play. Use its powerful processing capabilities to run facial recognition software or pre-recorded animations. Connect it to the Arduino via USB, allowing the Raspberry Pi to send commands to the Arduino when certain conditions are met, such as detecting a familiar face in the crowd or receiving a specific command from a mobile app.
Adding Sensors
Enhance interactivity by adding sensors. A motion sensor can trigger the mascot’s movements when someone approaches, while a microphone can enable the mascot to respond verbally through a speaker system. For instance, the mascot can say a pre-recorded message like “Welcome!” when sensing people nearby.
Programming the System
Develop a comprehensive program that synchronizes all the components. Use the Arduino IDE to write the Arduino code, focusing on controlling the servos and lights. For the Raspberry Pi, utilize programming languages like Python to handle facial recognition and other complex tasks. Combine these scripts to ensure smooth communication between the two microcontrollers.
Testing and Refining
Before unveiling your high-tech mascot, conduct thorough testing. Ensure all mechanical movements are smooth and safe, and verify that sensors and lights respond correctly to their intended stimuli. Refine the code and hardware placement to eliminate any glitches or delays, ensuring that the mascot performs flawlessly during actual events.
Bringing It All Together
Finally, put everything together inside the mascot costume. Carefully conceal the electronic components within the costume, maintaining easy access for maintenance. Run a full rehearsal to ensure synchronization between the hardware and software, making any final adjustments needed for optimal performance.
By incorporating Arduino and Raspberry Pi, your mascot costume will become a center of attraction, captivating audiences with its interactive capabilities and lively responses. This combination of technology not only enhances user engagement but also brings a new level of excitement to events.